How it started
I will be honest: from the moment I opened my first MacBook Pro I knew Apple hardware was built to a different standard. There is something in the weight, the fit, the finish that you just do not get elsewhere. Sleek and solid even from the way back when. So when one showed up as a generous donation to my mad scientist exploits, I was not asking questions. Turned it on and it sounds like a Boeing 747 spooling up. The fans were in full revolt, probably chasing a failing hard drive or a heat sensor that had given up. The screen itself was working, and I had been chasing one of these for a while for this exact project.
I pushed all other projects aside and went to work gutting it to get the identity of the screen so I could order a screen driver.
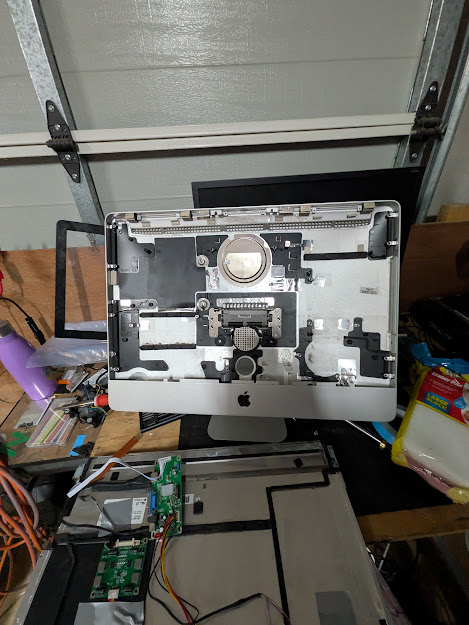 Logic board, drive, and fan assembly out. What is left is a clean aluminium shell and a panel that still works.
The panel
Once the logic board, drive, and fan assembly were out, I had a clean aluminium shell and a 1920x1080 IPS panel. The panel ID is LM215WF3-SDC2, a 40-pin eDP display. For a pre-2012 thick-case iMac this is a little unusual since that era typically used LVDS, but the panel ID does not lie. It may have been swapped at some point in its previous life.
The panel is in good condition. No dead pixels, no backlight bleed worth mentioning.
The controller board
Driving a bare laptop panel requires a controller board matched to the panel’s interface and pin count. I sourced an eDP controller board from AliExpress listed specifically for the LM215WF3-SDC2. It came in at around AU$30 and includes HDMI and VGA inputs, a button board for OSD controls, and a separate inverter board for the backlight.
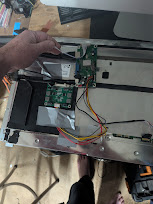 Controller board fitted into the rear cavity. The original Apple logic board occupied most of this space — with it gone there is actually room to work cleanly.
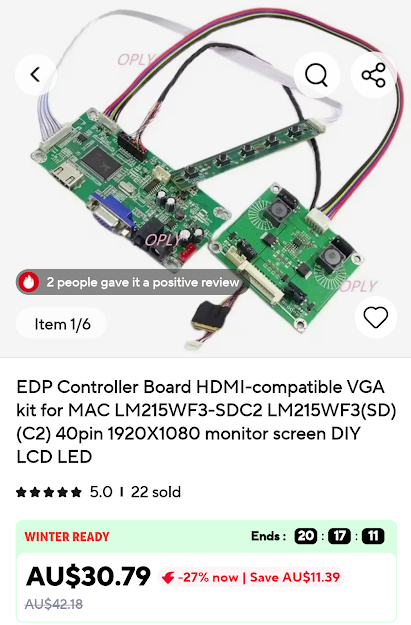 AU$30.79 shipped. Listed specifically for the LM215WF3-SDC2. 22 sold at time of order.
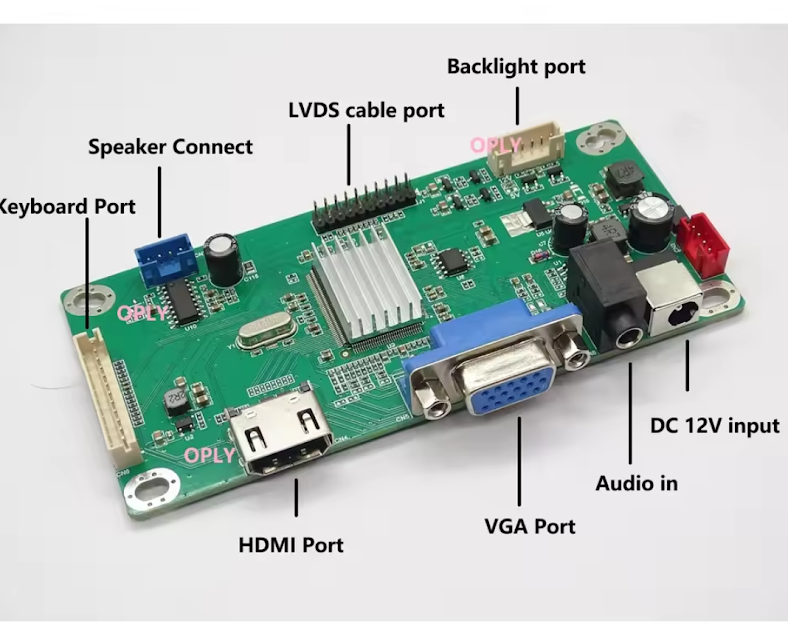 HDMI and VGA inputs, backlight port, audio out, DC 12V input. Everything needed to drive the panel and connect a source.
Placement of the controller board inside the case is still being worked out. The priority is keeping the power inlet easy to access without cutting into the case. The aluminium shell is staying intact.
Testing
I connected the controller board to a laptop via HDMI. The panel came up immediately at 1920x1080, colours look correct, brightness is adjustable through the OSD buttons. No issues. The repurposed screen works.
What goes inside
An Apple TV box. It was never really a hard decision. Putting anything else in an Apple shell felt wrong. The Apple TV tucks into the cavity easily, the iMac gets HDMI from the controller board, and the whole thing stays Apple from the outside in.
The TV situation
We do not own a television. Not in the usual sense. Most homes are arranged around one whether the occupants realise it or not, the room angled toward it, the furniture in service of it. In Feng Shui there is a concept sometimes called the commanding position, the seat of power in a room. In most Western living rooms that position is given to the TV.
We pull a small TV out of the closet when we want to watch something and put it away when we are done. The room is not built around it.
Right now the setup is a small TV with an Apple TV box, a power board, and a USB hub all glued to a board on the back. It works. But it looks like what it is.
This build replaces all of it. The iMac shell has enough room inside to house the Apple TV, a USB hub, and a power board together. Everything hidden inside an aluminium case, one cable out. That is the actual upgrade here — not just a better panel but the whole rig disappearing into something that looks like it belongs in a room. Done right it will look clean.
Current status
- Shell: gutted and clean
- Panel: installed and tested working
- Controller board: installed, HDMI and VGA inputs available
- Brain: Apple TV, pending installation
More to come once the origami is sorted.